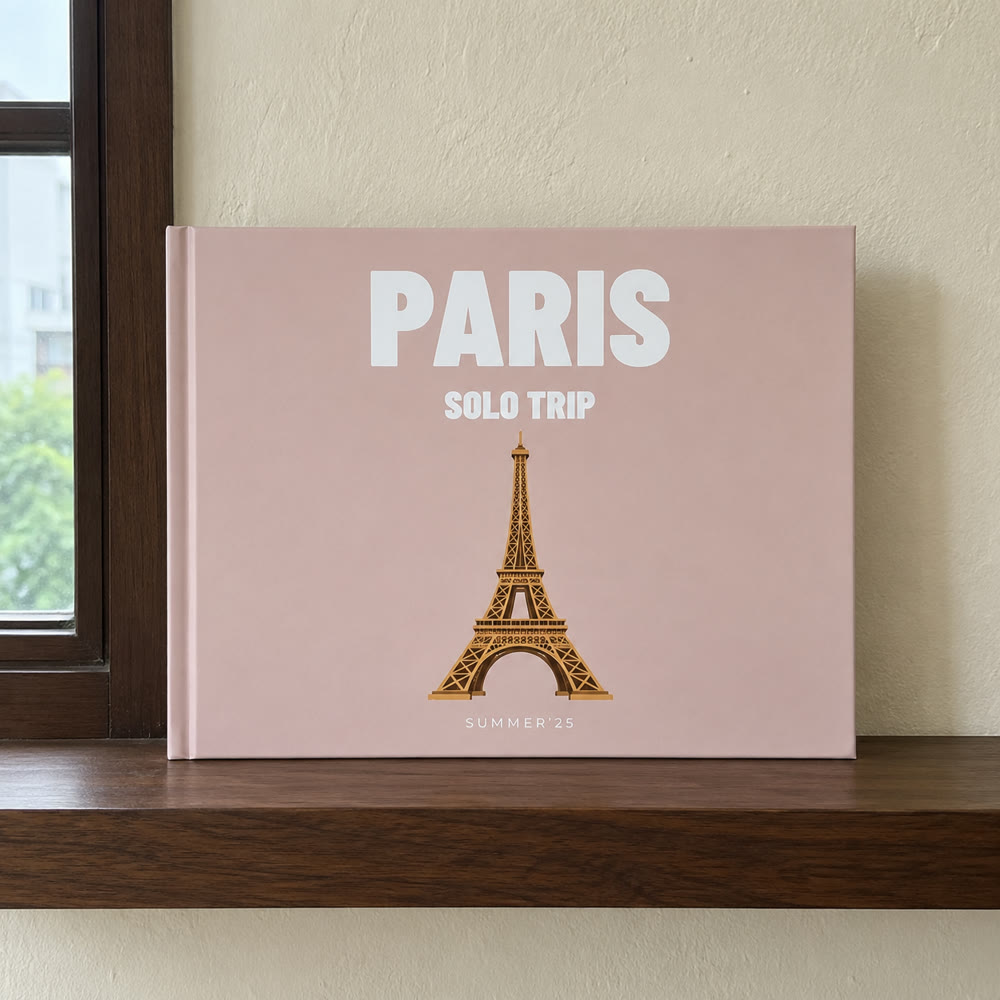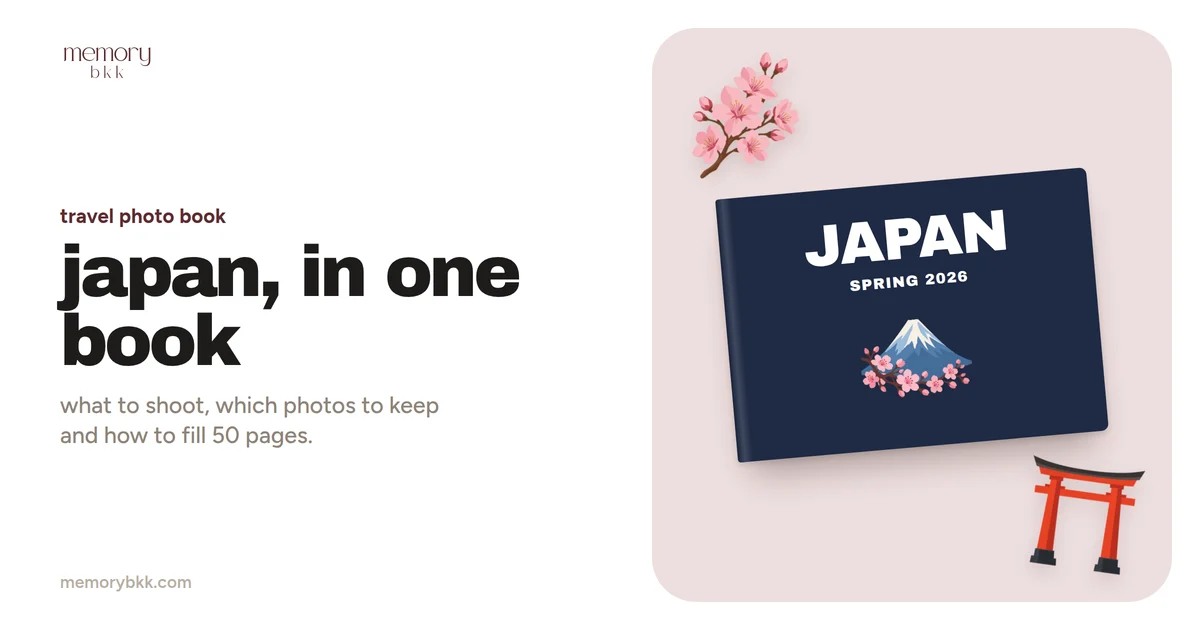
A Japan travel photo book works best when it is planned like the trip itself: one chapter for each place, around 100 photographs chosen from the thousands on your phone, and one strong image on every spread. Decide the chapters before you fly, shoot a short list of scenes in each city, and the book is half made by the time you land back in Bangkok.
Japan is one of the easiest countries to photograph and one of the hardest to edit. A week there can leave 2,000 pictures on a phone, most of them good, and that is exactly why so few of them are ever printed. This plan covers what to shoot, how to cut the camera roll down, how to lay out 50 pages, and which size and binding suit the photographs Japan gives you.
What makes a Japan travel photo book different from other trips
Most trips have one setting. Japan has several in a single week: the neon and crowds of Tokyo, the stillness of a Kyoto temple garden, a mountain that may or may not appear, and a food culture that deserves pages of its own. A book that mixes them at random feels like scrolling. A book that gives each one its own chapter feels like the journey.
The route most first-time visitors take makes this simple. The official Tokyo travel guide alone lists enough districts for a week, and most itineraries then run west along the Tokaido line to Kyoto and Osaka, with a day for Mount Fuji or Nara on the way. Each stop looks different, so each chapter in the book looks different too, without any design effort.
The second difference is the season. Cherry blossom, summer festivals, autumn leaves and snow change the colour of every photograph, and a Japan book made in April looks nothing like one made in November. That is worth using: the season can set the cover colour, the title and the mood of the whole book.
What to photograph in Japan so the book tells a story
A book needs more than landmarks. Viewpoint photographs all look alike after a few pages, and what people linger on later are the small things: the ticket, the bowl of ramen, the friend asleep on the train. Six kinds of photograph, repeated in every city, are enough to fill a book.
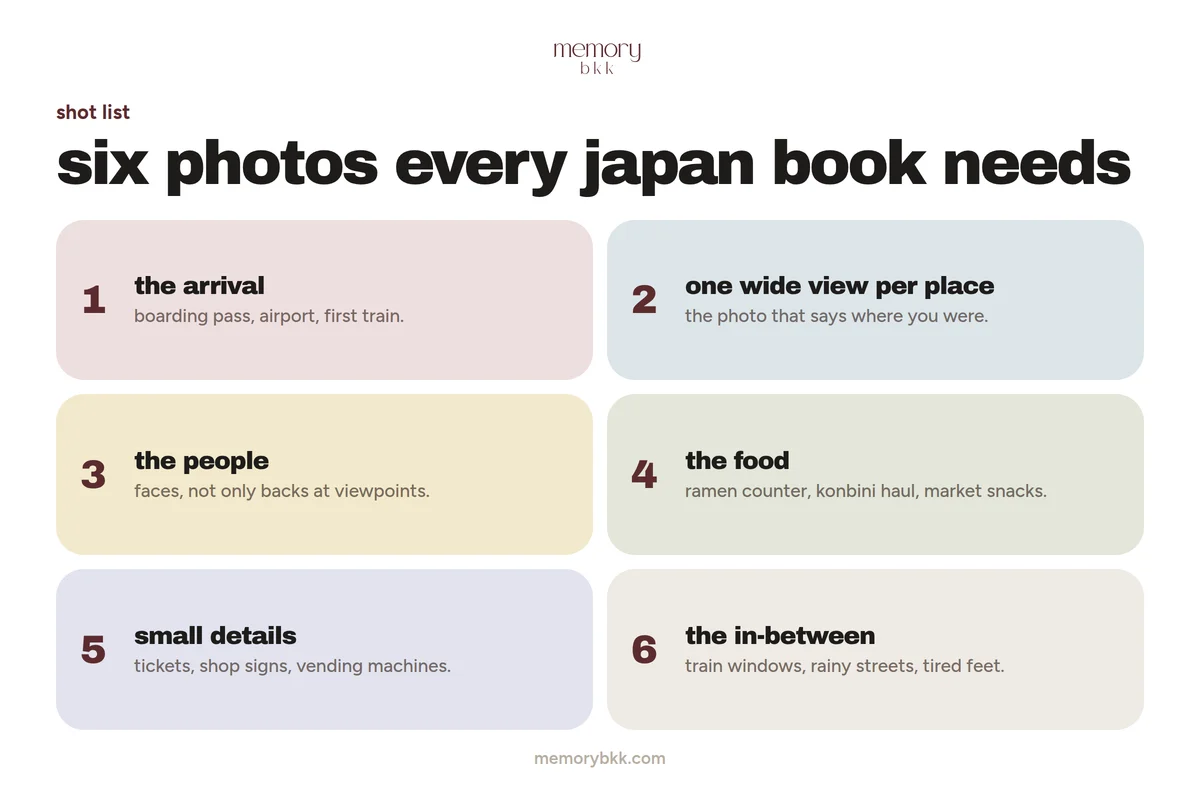
- The arrival: the boarding pass, the departure board, the first train from the airport. Narita International Airport is where many trips from Bangkok begin, and one photograph there opens the book better than any landmark.
- One wide view per place: the photograph that says where you were. Take it in landscape, with nothing important near the edges, so it can fill a full page.
- The people: faces, not only backs at viewpoints. Ask a stranger for one photograph of the whole group in each city.
- The food: the ramen counter, the convenience store haul, the market stall. Shoot from above, in daylight where you can.
- Small details: tickets, shop signs, vending machines, manhole covers, the pattern on a train seat. These fill the small frames on a busy page.
- The in-between: train windows, rain on a crossing, tired feet at the end of the day. These are the photographs that make the book yours.
Take each important scene twice, once in landscape and once in portrait. It costs two seconds and doubles the layouts open to you later.
Tokyo, Mount Fuji, Kyoto, Nara and Osaka: what each place gives the book
Tokyo
Tokyo gives the book its energy. Shoot the crossings and the neon after dark, when the city looks most like itself, and find one high viewpoint for the wide photograph. Then add the quiet side: a shrine in the morning, a side street in the rain, a tiny counter restaurant. The contrast between the two makes the chapter.
Mount Fuji
Mount Fuji is on the UNESCO World Heritage list as a sacred place and source of artistic inspiration, and it has been drawn and photographed for centuries for good reason. It is also often hidden by cloud. Go early in the morning, when the air is clearest, and keep a second plan for the day. Most visitors see the mountain from the lakes and viewpoints of Fuji-Hakone-Izu National Park rather than from the summit. If you do plan to climb, the official Mount Fuji climbing site publishes the season and the rules for each trail.
There is one more chance on the train. On the Tokaido Shinkansen from Tokyo towards Kyoto, the mountain appears on the right-hand side about 40 minutes after departure. A window seat on that side has given many travellers their Fuji photograph.
Kyoto
Kyoto gives the book its calm. The Kyoto City official guide covers the temples, gardens and old streets, and the pages almost arrange themselves: wood, moss, stone and one bright colour. The thousands of vermilion gates at Fushimi Inari Taisha are the photograph most people want. The shrine grounds are open at all hours, so go soon after sunrise and walk past the first crowded stretch before taking it.
Nara
Nara is an easy day trip from Kyoto or Osaka, and the deer in the park give you the photographs with people in them that the rest of the trip may lack. The official Nara travel guide lists the temples around the park. Two pages are usually enough.
Osaka
Osaka is the food chapter. The Osaka tourism guide is a good place to choose a market and a street for the evening. Photograph the signs at night, the food from above, and the people cooking it.
When you travel changes the book
Spring is the classic Japan book: pale pink against grey and white. The dates move every year and from south to north. The Japan Meteorological Agency keeps records of cherry blossom dates for cities across the country, which is useful when choosing between late March in Tokyo and late April further north.
Summer brings festivals, fireworks and deep green. Autumn turns Kyoto red and gold, usually from the middle of November. Winter belongs to the north: the Hokkaido tourism site covers the snow festivals and ski towns, and snow photographs print beautifully because they are so simple.
Let the season choose the cover. A soft pink or navy cover suits spring, deep red suits autumn, and white or pale blue suits snow.
How to choose 100 photos from 2,000
We recommend around 100 photographs for one book. That is two per page on average, with room for a few full pages and a few busy ones. Getting from 2,000 to 100 is easier in three passes than in one.
- Favourite as you go. Each evening of the trip, mark the day's best ten on your phone. It takes five minutes and saves hours at home.
- Cut by day, not by trip. Open one day at a time and keep the single best photograph of each scene. Ten near-identical frames of the same gate become one.
- Check the six kinds. Count what is left against the shot list: arrival, wide views, people, food, details, in-between. If one kind is missing, go back for it. If landmarks crowd out everything else, cut more of them.
Use the original files. Photographs sent through chat apps are usually compressed, and a compressed file that looks fine on a screen can look soft on paper. A full A4 page at 300 dots per inch needs about 3,500 by 2,500 pixels, which every recent phone exceeds. If your iPhone saves in HEIF and you want JPEG files, Apple explains how to switch the camera to its Most Compatible format. Before you delete anything, keep a copy of the full trip: Google describes how to back up photos and videos from a computer or a phone.
How to lay out 50 pages for a week in Japan
Our book has 50 photo pages. Give each place a share of them in proportion to the days you spent there, then open and close the book with a few pages that belong to no city.
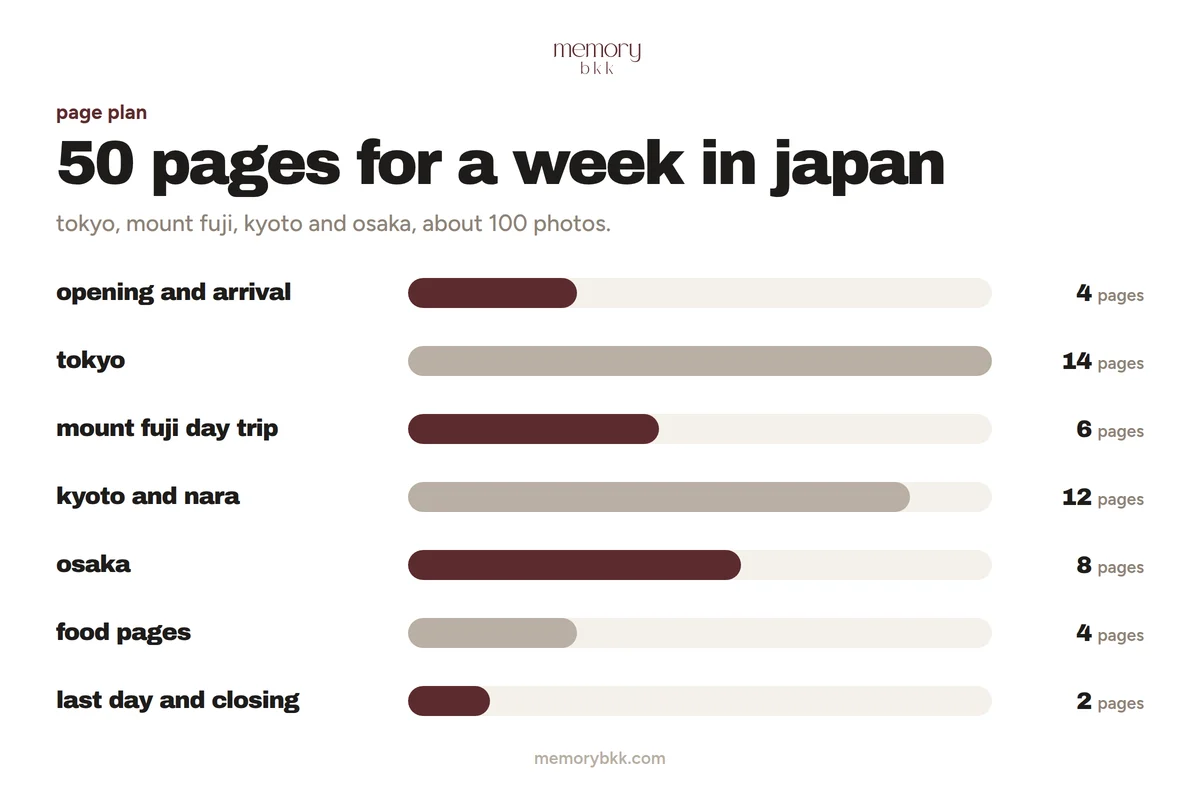
| Chapter | Pages | What goes on them |
|---|---|---|
| Opening and arrival | 4 | Title page, the airport, the first train, the first meal |
| Tokyo | 14 | One full-page wide view, then streets, shrines and nights |
| Mount Fuji day trip | 6 | The mountain across two pages if it showed, the lake, the journey |
| Kyoto and Nara | 12 | Gates, gardens, old streets, the deer |
| Osaka | 8 | Night signs, the market, the people cooking |
| Food pages | 4 | A grid of everything you ate, in order |
| Last day and closing | 2 | The packed bag, the flight home, one line of text |
Three layout habits keep the pages calm. Give every spread one photograph that is clearly the largest. Keep photographs in the order they happened, because the memory works that way. And leave some white space: a single photograph on a page is not a wasted page.
If you would rather not arrange it yourself, our photo book design service does it for ฿500 per book. You upload the photographs, a designer lays the book out within 5 days, and you review a digital proof with up to 3 rounds of revisions before anything is printed.
The best size, orientation and binding for Japan photographs
Most travel photographs are landscape, and so are most of Japan's best views, so a landscape book is the natural choice. A4 landscape, at 297 by 210 mm, gives a wide photograph real size. A5 landscape is the same shape at half the size, easy to post as a gift and easy to keep one of for every trip. All four formats and their prices are on the hardcover photo book page.
The binding matters more for Japan than for most trips, because so many of its photographs are panoramas. Our butterfly binding opens completely flat, to 180 degrees, on thick 420 gsm pages, so Mount Fuji or a row of torii gates can run across two pages without losing the middle in the fold. Our standard binding is a classic book on 160 gsm pages at a lower price, with photographs tucked slightly into the curve of the spine. It suits a book made mostly of single-page layouts.
A book starts from ฿1,500 for A5 with standard binding, and A4 with butterfly binding is ฿2,700. Delivery anywhere in Thailand is free. Production takes 7 to 14 business days after payment and delivery 1 to 3 more, as set out under delivery times and returns.
Cover, title and spine: how to name a Japan photo book
Choose the cover photograph last. It should be simple, readable at arm's length and not the busiest picture in the book: Fuji against a clear sky, a single gate, a quiet street. Or use no photograph at all. Our travel series opens on a plain colour with a bold title and a sticker, and the sticker tray includes Mount Fuji, a torii gate, cherry blossom and sushi.
Keep the title short. The place and the date are enough: Japan, Spring 2026. The cover takes up to three text boxes, so a second line can name the people or the route. Print the same title on the spine. If you make a book for every trip, the spines line up on the shelf as a record of where you have been, which is the reason many customers of our travel photo book keep to one size and one style.
How to make the book once you are home
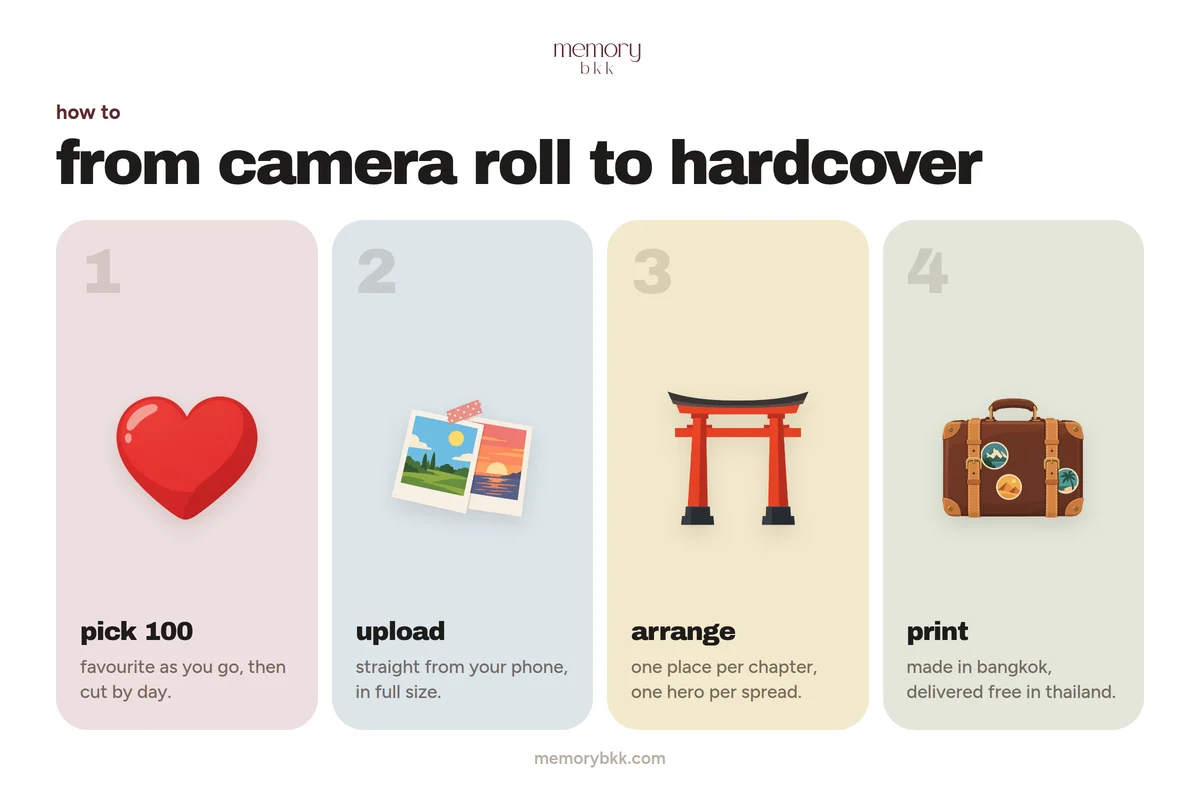
- Pick your 100 photographs using the three passes above.
- Start a book on the travel series and upload the photographs straight from your phone or computer. Signing in keeps the book saved, so you can stop and carry on later.
- Arrange the chapters in order. Change any page's layout, move and crop photographs, and add a line of text where it helps.
- Design the cover, the back and the spine, then order. The book is printed and bound in Bangkok and delivered to your door.
The best time to begin is the week you get home, while the order of the days is still clear. Many people start on the flight back, and you can make your Japan trip book from a phone in an evening.
FAQs about making a Japan travel photo book
How many photos do I need for a Japan travel photo book?
Around 100 photographs fill a 50 page book comfortably, which is two per page on average with room for a few full-page images and a few busier pages. A shorter trip of four or five days still fills the book if you include food, details and travel days as well as landmarks. If you choose the design service you can send more, up to about 300, and the designer selects and arranges the strongest ones. The sizes, page count and prices are listed on the photo book sizes and prices page.
What size is best for a Japan travel photo book?
A4 landscape suits Japan best for most people, because the views that define the trip are wide: Mount Fuji, a temple roofline, a city at night. At 297 by 210 mm a full-page photograph has real presence. A5 landscape is half the size and a little cheaper, and works well as a gift or as one of a set for every trip. Portrait formats suit books with many photographs of people or of tall subjects such as gates and towers. You can compare all four on the travel photo book page.
Is lay-flat binding worth it for travel photos?
It is worth it if you want photographs to run across two pages. Butterfly binding opens flat to 180 degrees on 420 gsm pages, so nothing is lost in the middle of a panorama, and the thicker pages feel like an album. It adds ฿1,000 to the price. Standard binding is the better choice for a book of mostly single-page layouts, since its photographs sit slightly into the curve of the spine. Both are shown side by side on the hardcover book options page.
Can I make the photo book on my phone?
Yes. The editor runs in a phone's browser as well as on a computer, and photographs upload straight from the camera roll. Signing in with an email address or a phone number keeps the book saved, so you can start on your phone on the way home and finish on a larger screen later. Use the original files from your camera roll rather than copies saved from chat apps. If the arranging feels like too much on a small screen, the design service for travel books hands that part to a designer.
How long does it take to receive the book in Thailand?
Production takes 7 to 14 business days after payment, and delivery takes a further 1 to 3 business days. Delivery is free and tracked anywhere in Thailand. If you add the design service, allow up to 5 days for the designer's first layout, plus the time you take to review the proof. For a gift with a fixed date, order about four weeks ahead. Books are not shipped outside Thailand. The full details are under shipping and returns.
Should I make one book for the whole trip or one for each city?
One book is right for most trips of up to two weeks, with a chapter for each city. It tells the journey in order and 50 pages hold about 100 photographs. Consider two books when a trip is long, when two parts of it feel very different, such as a ski week in Hokkaido followed by a week in Kyoto, or when each traveller wants their own version. A finished book can be duplicated and edited, so a second copy for parents or friends takes minutes to make from the first travel book.
When is the best time to photograph cherry blossom in Japan?
It depends on the city and the year. Blossom usually opens in Tokyo and Kyoto from late March into early April and reaches northern Japan about a month later. Full bloom lasts roughly a week and can end early with rain or wind. The Japan Meteorological Agency publishes its cherry blossom observations for each city, and travel plans are safest with a few days of margin on either side. A spring book suits a pale cover, which you can set on the custom photo book series.
What is the best way to photograph Mount Fuji for a book?
Go early. The mountain is clearest in the first hours of the morning and in the colder months, and often hidden by cloud by midday in summer. Take one wide landscape photograph with space around the peak, so it can fill a page or run across two. Include something in the foreground, such as a lake, a pagoda or blossom, to give the picture depth. The UNESCO listing for Fujisan describes the shrines and lakes that make up the site. For a photograph across two pages, choose butterfly binding.
Can someone design the book for me?
Yes. The design service costs ฿500 per book, added to the price of the book. After you order and upload your photographs, a designer lays out all 50 pages within 5 days. You then review a digital proof and can ask for up to 3 rounds of revisions before the book goes to print. It is a good choice when you have hundreds of photographs and little time, or when the book is a gift and needs to be right. You can start one from the design service page.
What should I write in a travel photo book?
Very little. A title on the cover and spine, the name of each place where its chapter begins, and a handful of short captions are enough. The captions worth writing are the ones a photograph cannot show: the name of the restaurant, who took the wrong train, what the weather was doing. Dates help more than descriptions. The inside covers of our books take any colour and your own words, which is a good place for a dedication or the route. For help with wording for a gift, contact our team.
Start while the trip is still fresh
A Japan travel photo book takes an evening to make once the photographs are chosen, and it is the one version of the trip that will still be opened in twenty years. Pick the 100, give each city its chapter, and let the widest view run across two pages. You can start a Japan photo book today, from ฿1,500, with free delivery across Thailand.